If you are setting up a new server, please refer to the following guides:
For NGINX:
https://phpcod.com/install-nginx-php-mysql-wordpress-and-comodo-ssl-on-ubuntu-22-04/
For Apache:
https://phpcod.com/install-apache-php-mysql-on-ubuntu-22-04/
Installation in root directory
Please follow the procedure.
- Download the zipped file from CodeCanyon.
- Upload the zipped file into webserver.
- Unzip the zipped file. Inside the unzipped folder you will get two folders "documentation" and "upload".
- Move all the items from the "upload" folder to the root directory.
-
Make sure you have correct access permission for these directories and files.
- 'env' => '644'
- 'config' => '644'
- 'bootstrap' => '755'
- 'bootstrap/cache' => '755'
- 'public' => '755'
- 'public/logo' => '755'
- 'storage/framework' => '755'
-
Create the database and remember these things for future usage.
- Database name.
- Username.
- Password.
-
Database name, username and Password must not contain # or white space.
Removing public from your script's installation path i.e. https://your-domain.com/public for both Apache and Nginx servers:
For Apache2 Server:
Open the Apache configuration file for your Laravel site:
sudo nano /etc/apache2/sites-available/your-site.conf Change the DocumentRoot directive to point directly to the public directory of your Laravel application:
<VirtualHost *:80>
    ServerAdmin webmaster@your-domain.com
    DocumentRoot /var/www/your-laravel-app/public
    # Other configuration settings...
    <Directory /var/www/your-laravel-app/public>
        Options Indexes FollowSymLinks
        AllowOverride All
        Require all granted
    </Directory>
    # Other configuration settings...
</VirtualHost>
Save the file and exit the text editor.
Restart Apache:
sudo service apache2 restart
For Nginx Server:
Open the Nginx configuration file for your Laravel site:
server {
    listen 80;
    server_name your-domain.com www.your-domain.com;
    root /var/www/your-laravel-app/public;
    index index.php index.html index.htm;
    location / {
        try_files $uri $uri/ /index.php?$query_string;
    }
    # Other configuration settings...
}
sudo nano /etc/nginx/sites-available/your-site Update the server block to point directly to the public directory of your Laravel application:
Save the file and exit the text editor.
Create a symbolic link to enable the site:
sudo ln -s /etc/nginx/sites-available/your-site /etc/nginx/sites-enabled/
Remove the default configuration if it exists:
sudo rm /etc/nginx/sites-enabled/default
Or
sudo unlink /etc/nginx/sites-enabled/default
Test Nginx configuration:
sudo nginx -t
Restart Nginx:
sudo service nginx restart
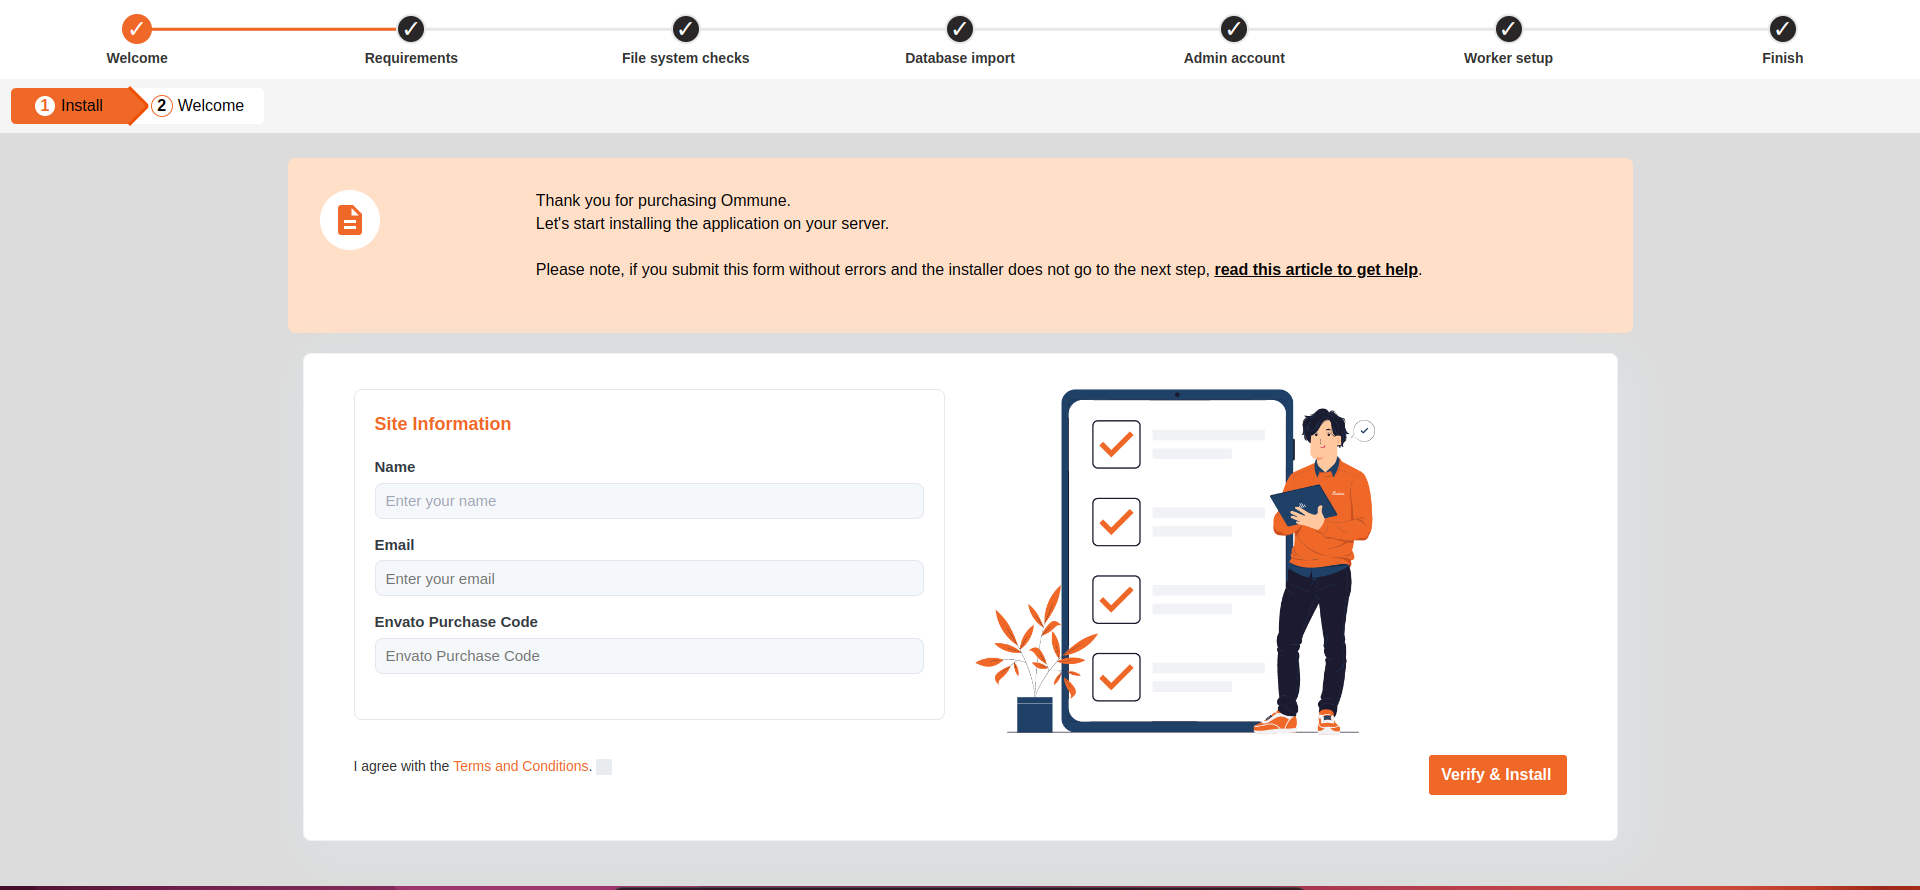
- Go to URL https://your-domain.com/install/. Follow the easy installer procedures step by step and install the application.
Set Up Wizard
Please follow the procedure.
-
01. Purchase Code
Make sure you use correct purchase code. On success you will get "Purchase code verified successfully" message and redirection on next step.
Possible Error Cases response are "Invalid Purchase code", "Request Failed" etc.
"Invalid Purchase code" : Re check you purchase code again.
"Request Failed": Your server could able to communicate with another server to verify purchase code.
If there is any problem occurs in this section then please check Error log and copy error log and contact support@ommune.com to further assistance.
-
02. Required Environment
Make sure all your requirements are fulfilled.
.png)
-
03. Additional Requirement
Make sure the directory must be writable by the web server.
.png)
-
04. Database Configuration
Make sure you use correct credentials.
-
Database Host usually used localhost. (Some VPS Server it might differs).
-
Database Port usually used 3306. (It might differs in some case and if the port is occupied use different port).
-
Database name, username and Password must not contain # or white space.
.png)
-
-
05. Admin Login Details
This email and password will be used as admin credentials to log in.
Fill up necessary information and click create account.
.png)
-
06. Worker Setup
.png)
-
After successful installation, go to the website.
-
08. Login Page
Login using admin email and password.