Installation in root directory
Please follow the procedure.
- Download the zipped file from CodeCanyon.
- Upload the zipped file into cPanel / server.
- Unzip the zipped file. Inside the unzipped folder you will get two folders "documentation" and "upload".
- Move all the items from the "upload" folder to the root directory.
-
Make sure you have correct access permission for these directories and files.
- 'src/env' => '644'
- 'src/config/' => '644'
- 'src/bootstrap/' => '755'
- 'src/bootstrap/cache/' => '755'
- 'src/storage/' => '755'
- 'src/storage/logs/' => '755'
- 'src/storage/framework/' => '755'
-
Create the database and remember these things for future usage.
- Database name.
- Username.
- Password.
-
Database name, username and Password must not contain # or white space.
- Go to URL your_domain/install/. Follow the easy installer procedures step by step and install the application.
Set Up Wizard
Please follow the procedure.
-
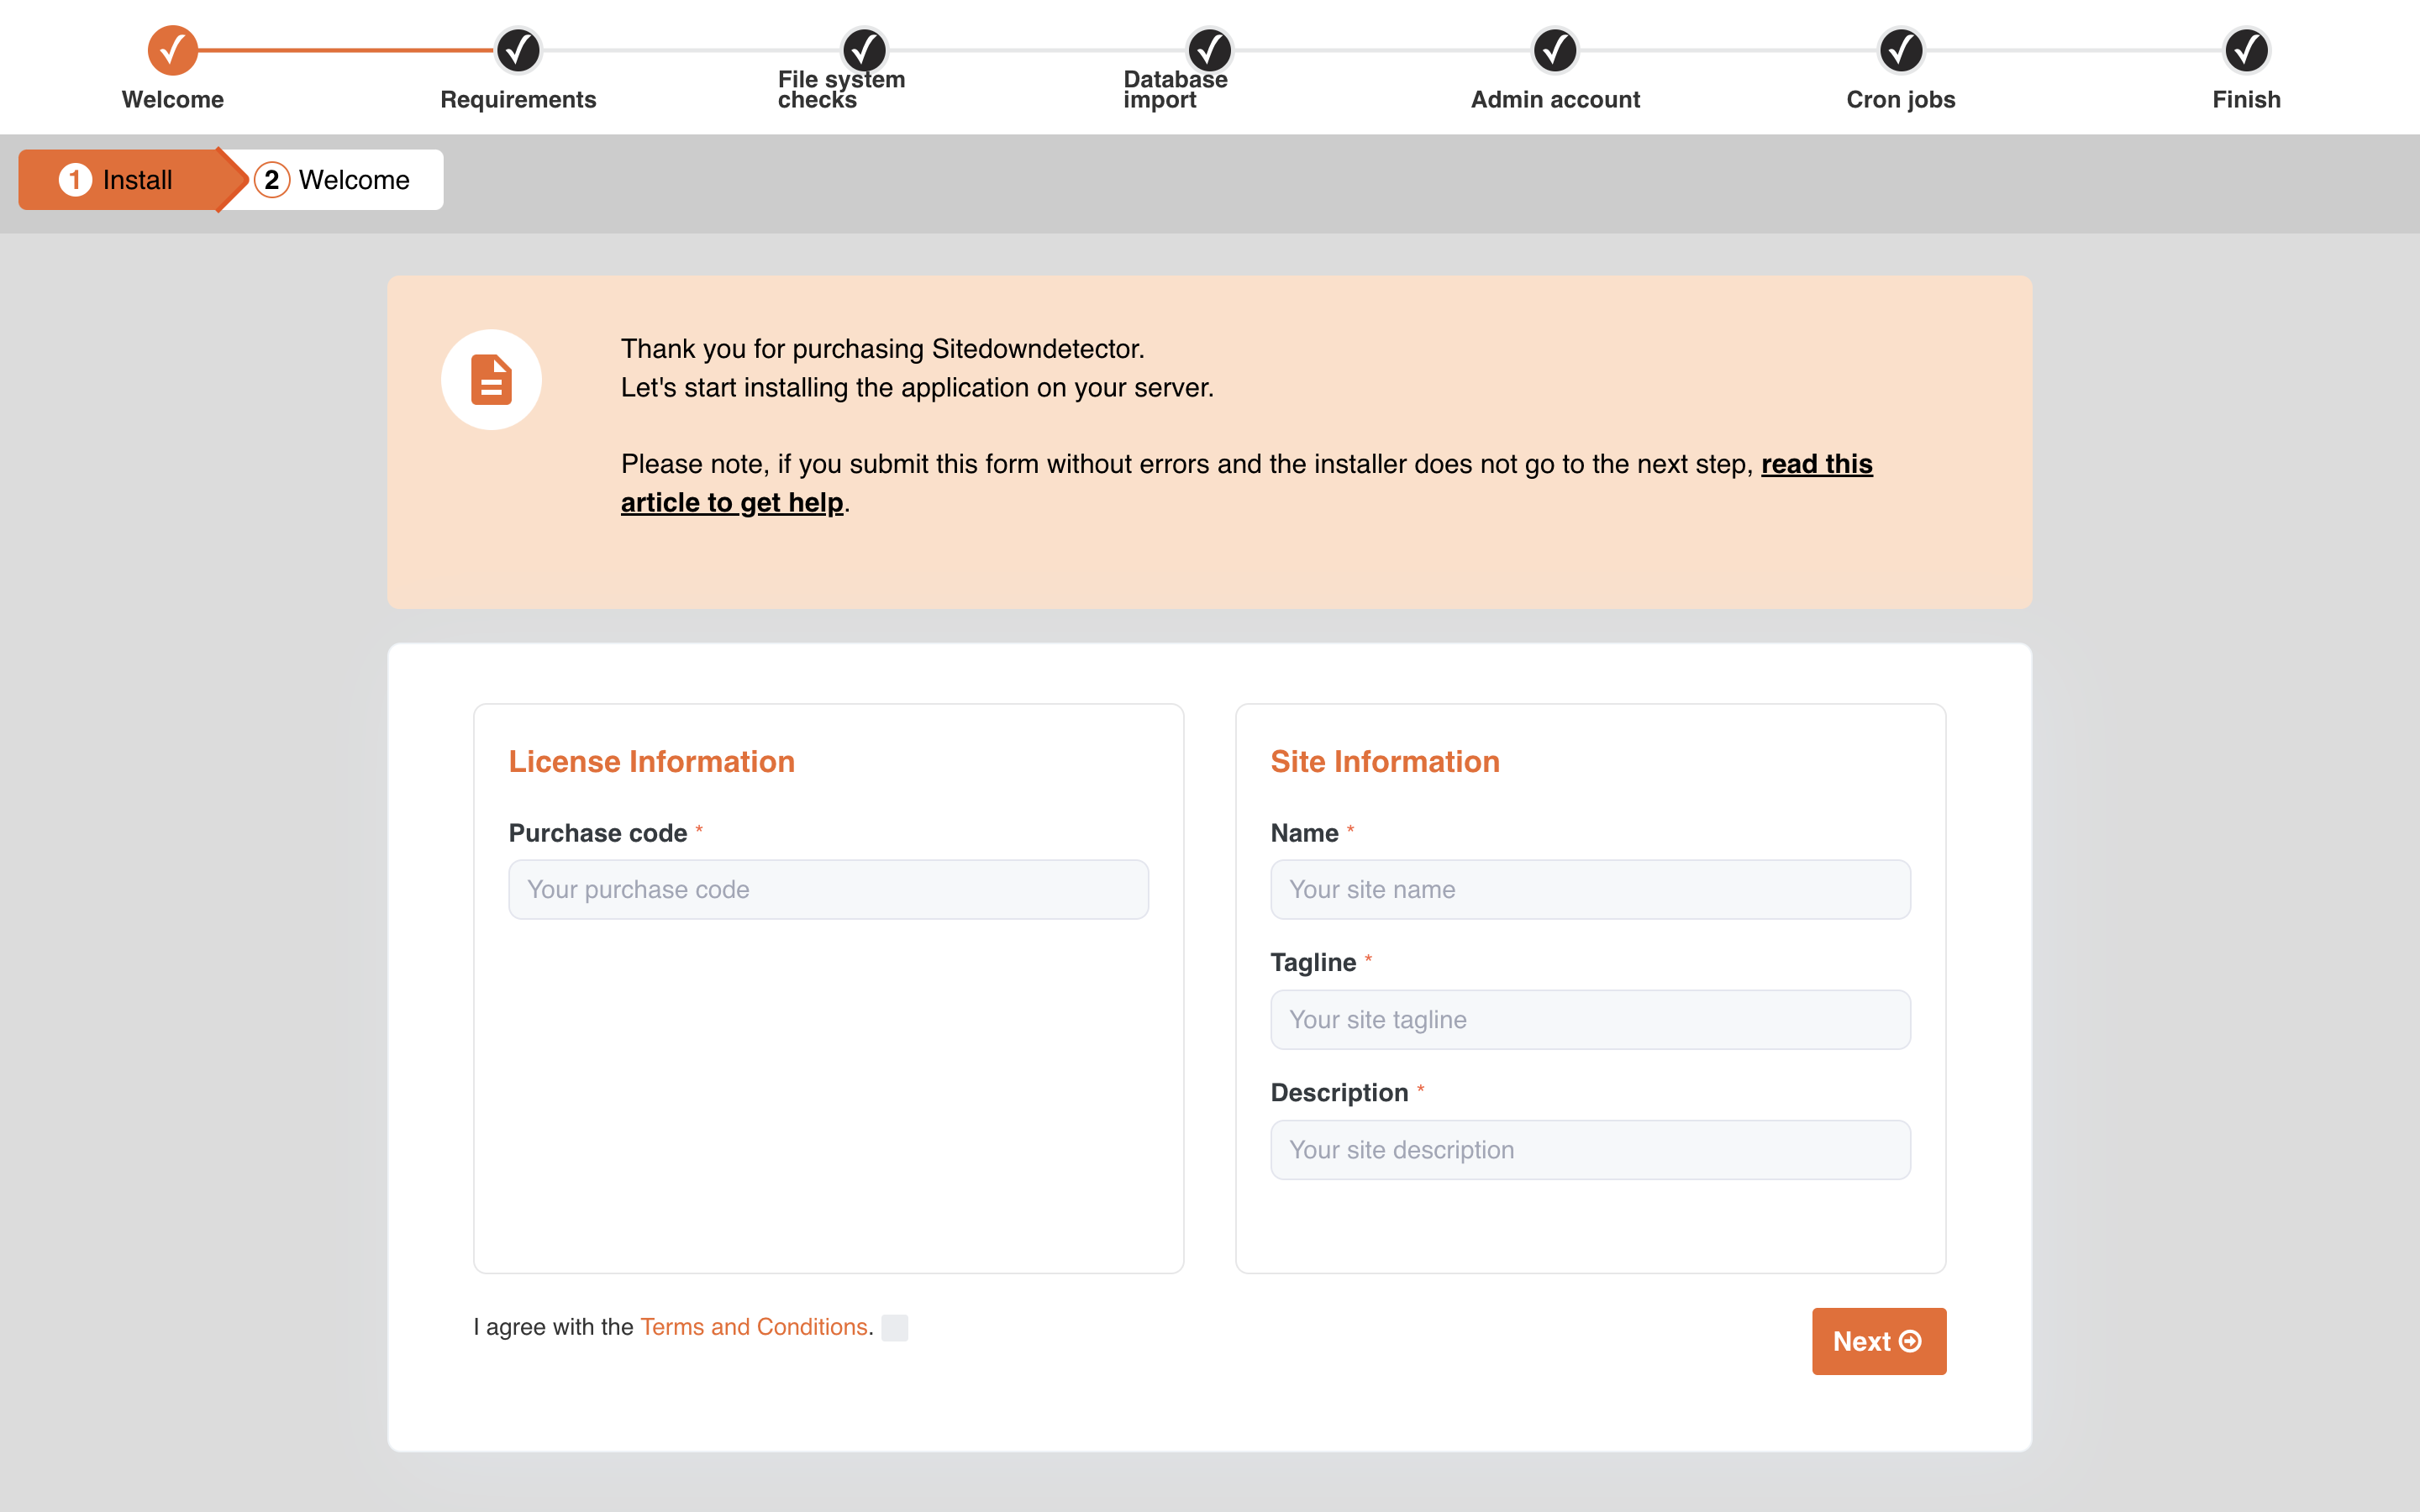
01. Purchase Code
Make sure you use correct purchase code. On success you will get "Purchase code verified successfully" message and redirection on next step.
Possible Error Cases response are "Invalid Purchase code", "Request Failed" etc.
"Invalid Purchase code" : Re check you purchase code again.
"Request Failed": Your server could able to communicate with another server to verify purchase code.
If there is any problem occurs in this section then please check Error log and copy error log and contact support@ommune.com to further assistance.
-
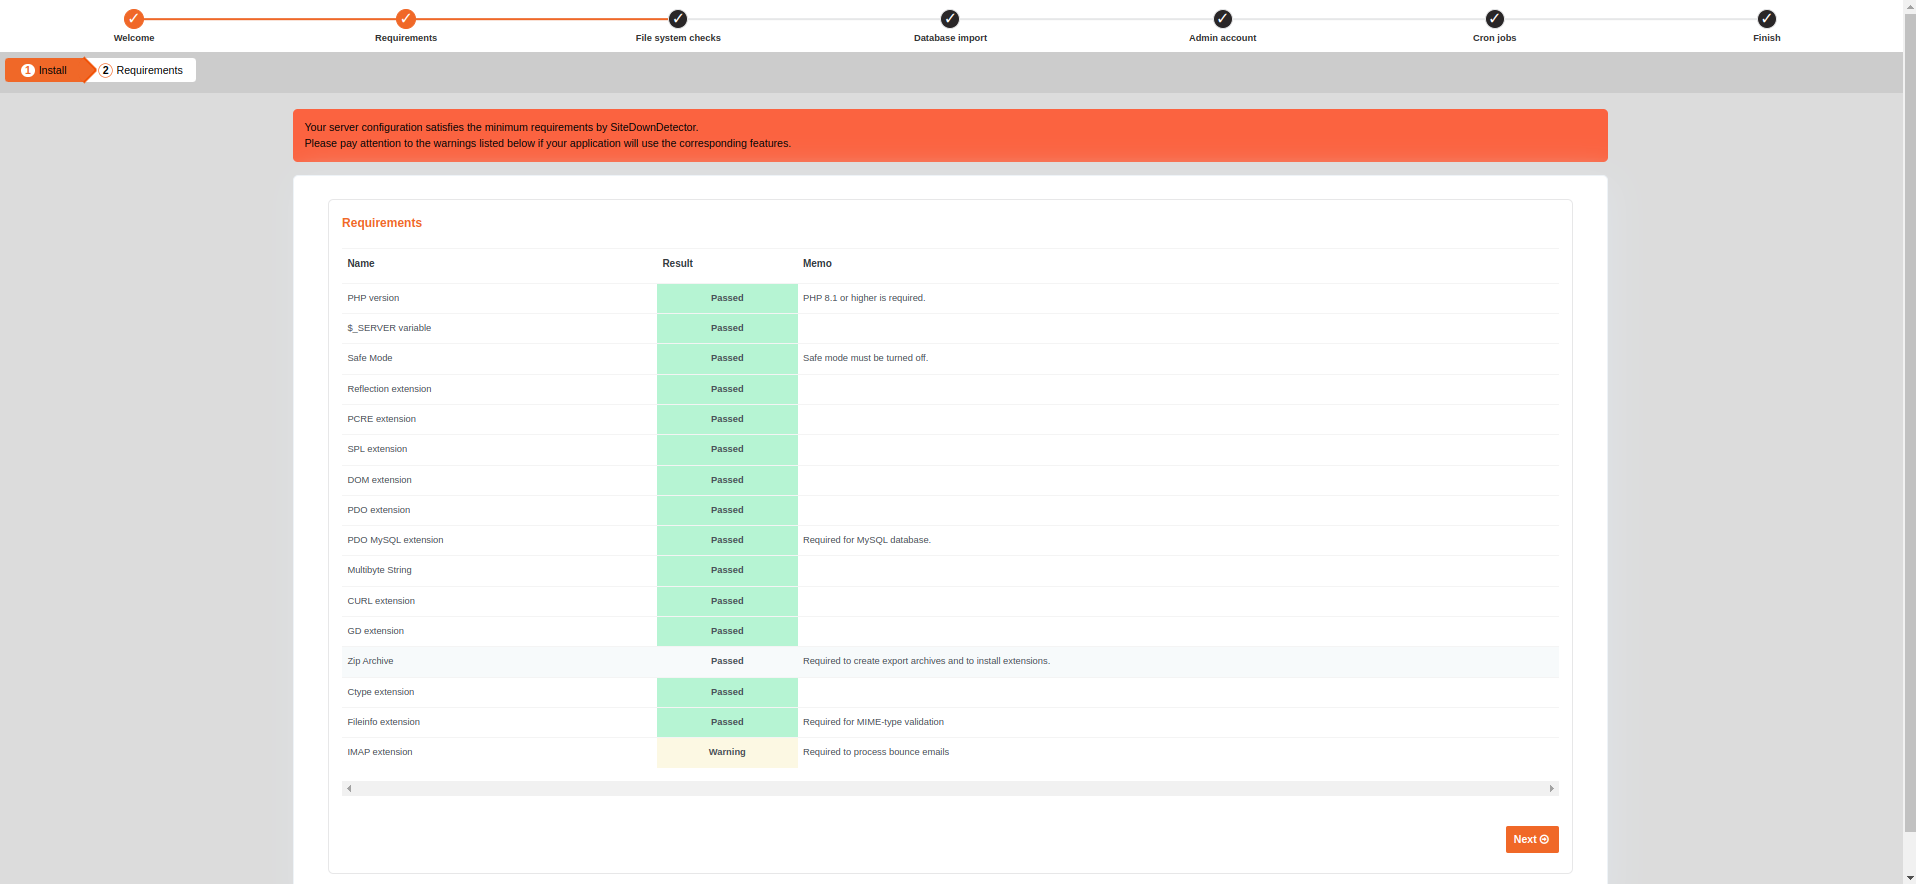
02. Required Environment
Make sure all your requirements are fulfilled.
-
03. Additional Requirement
Make sure the directory must be writable by the web server.

-
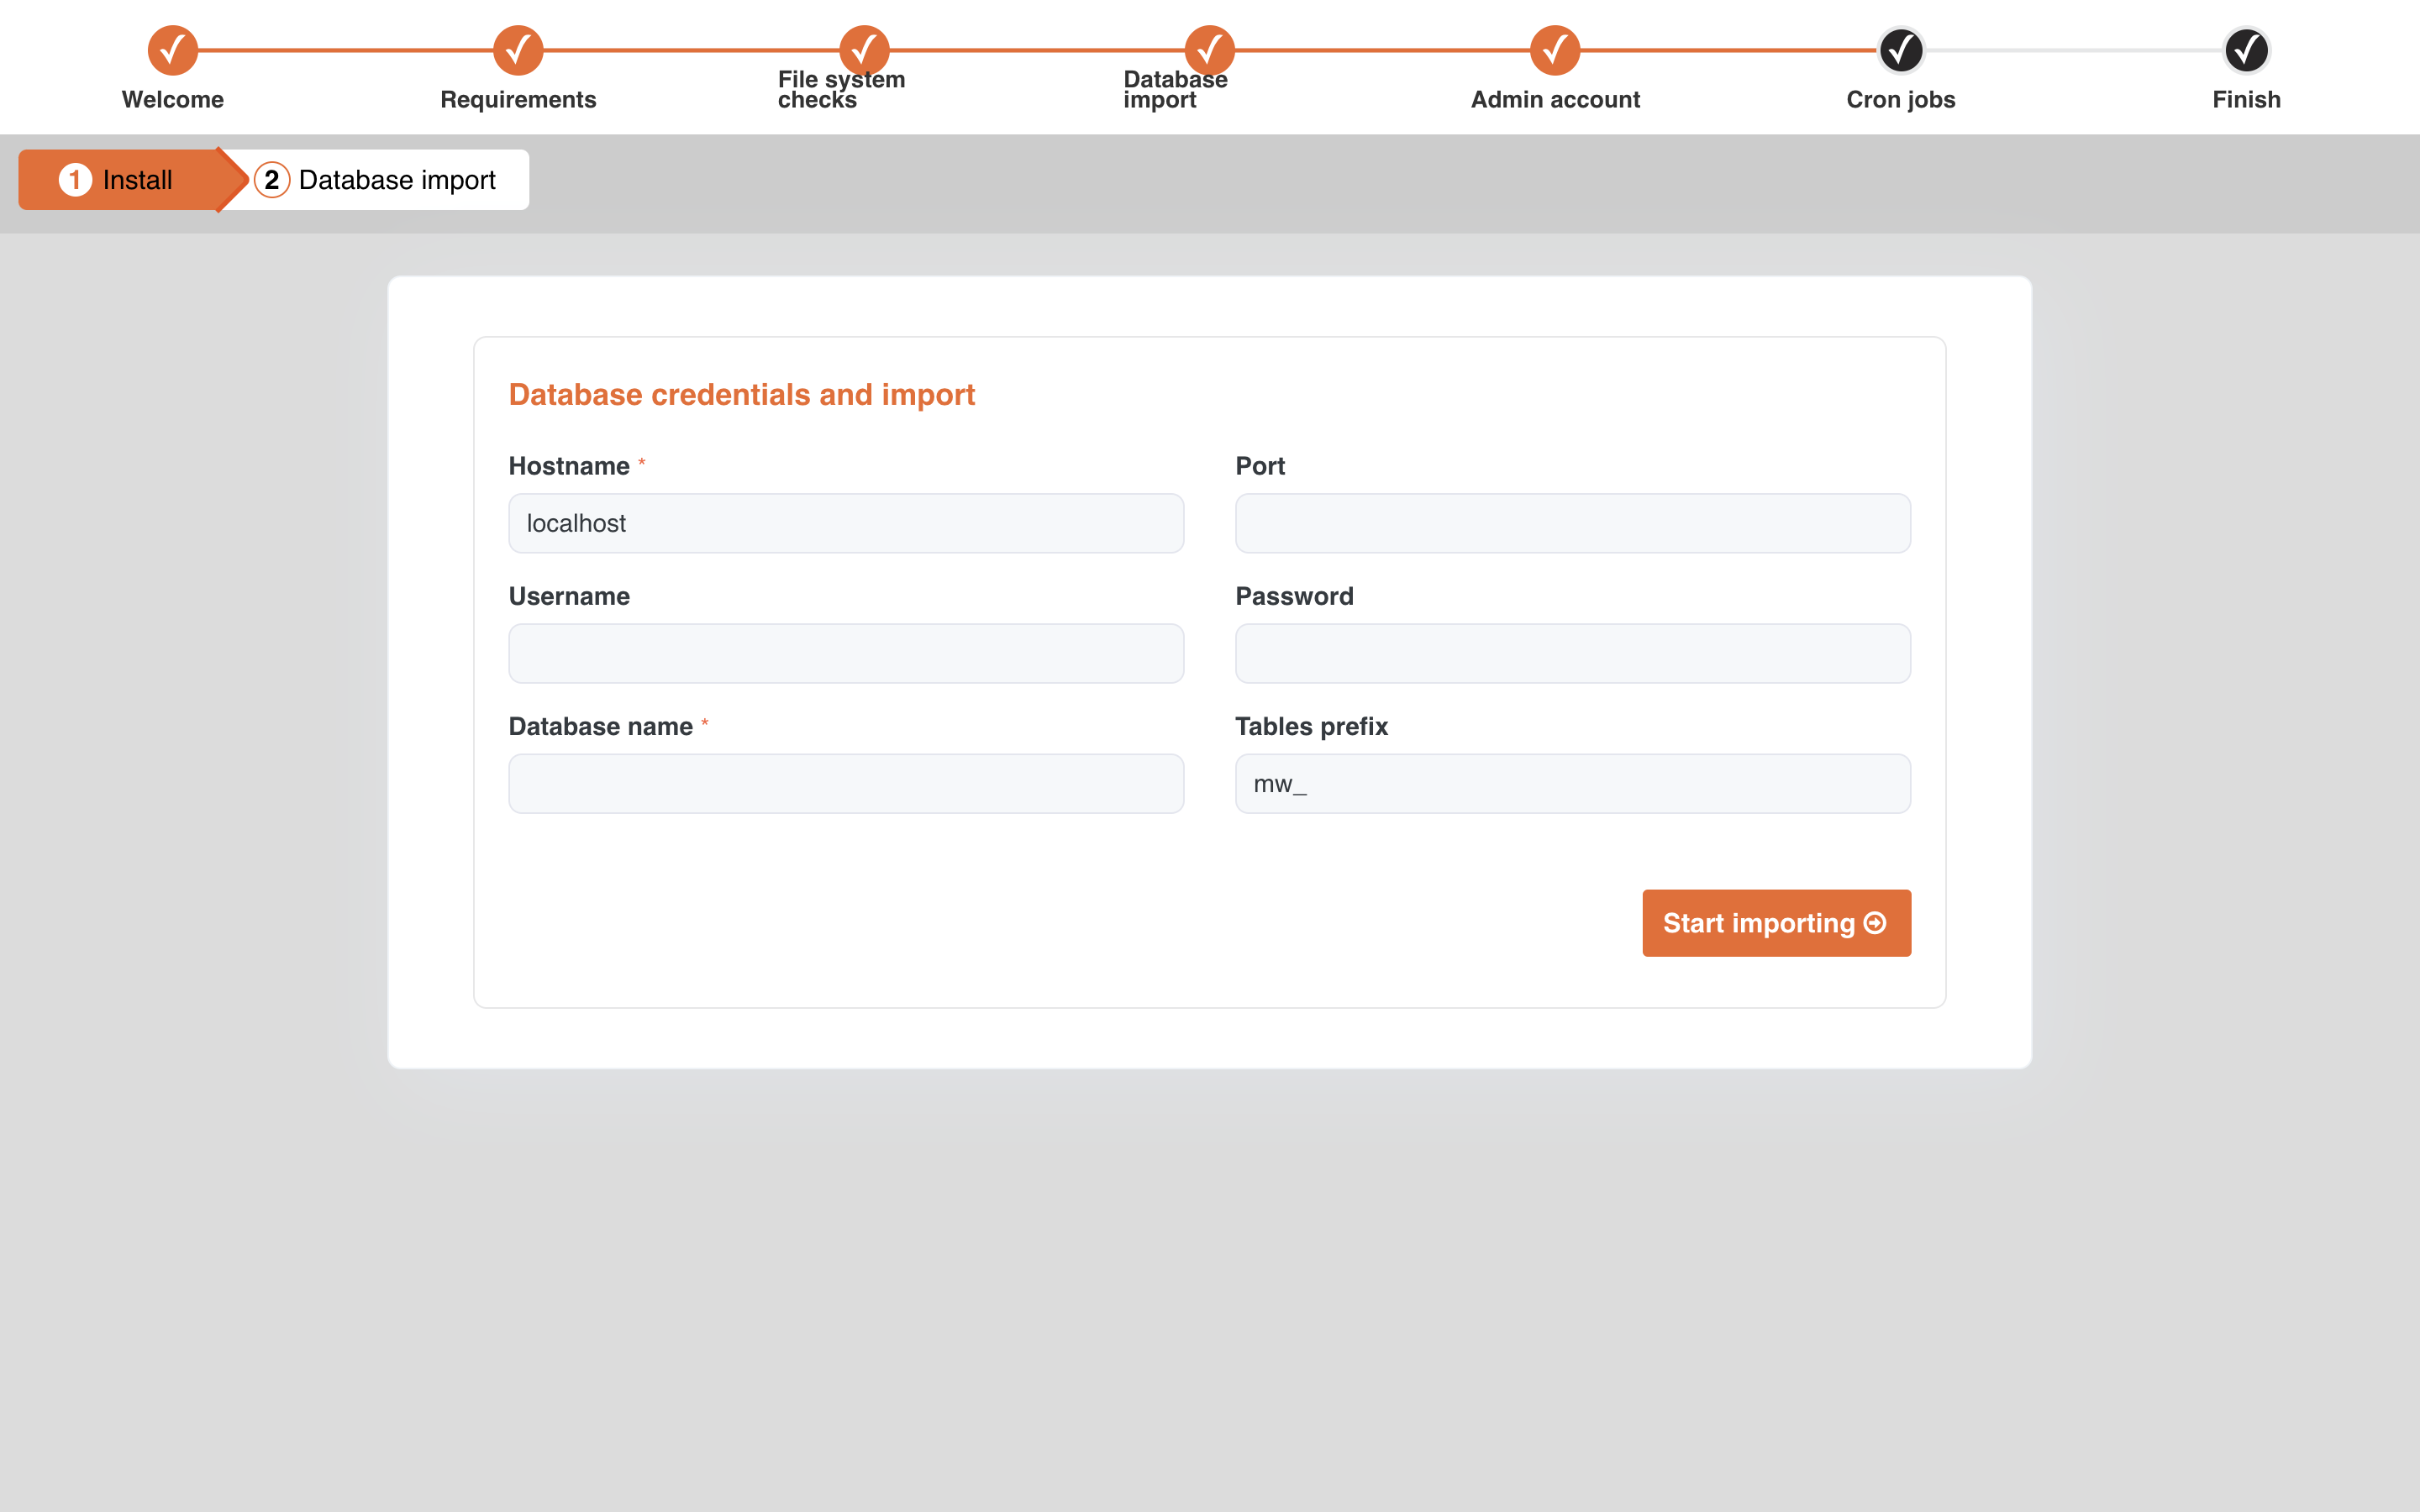
04. Database Configuration
Make sure you use correct credentials.
Database Host usually used localhost. (Some VPS Server it might differs).
Database Port usually used 3306. (It might differs in some case and if the port is occupied use different port).
-
Database name, username and Password must not contain # or white space.
-
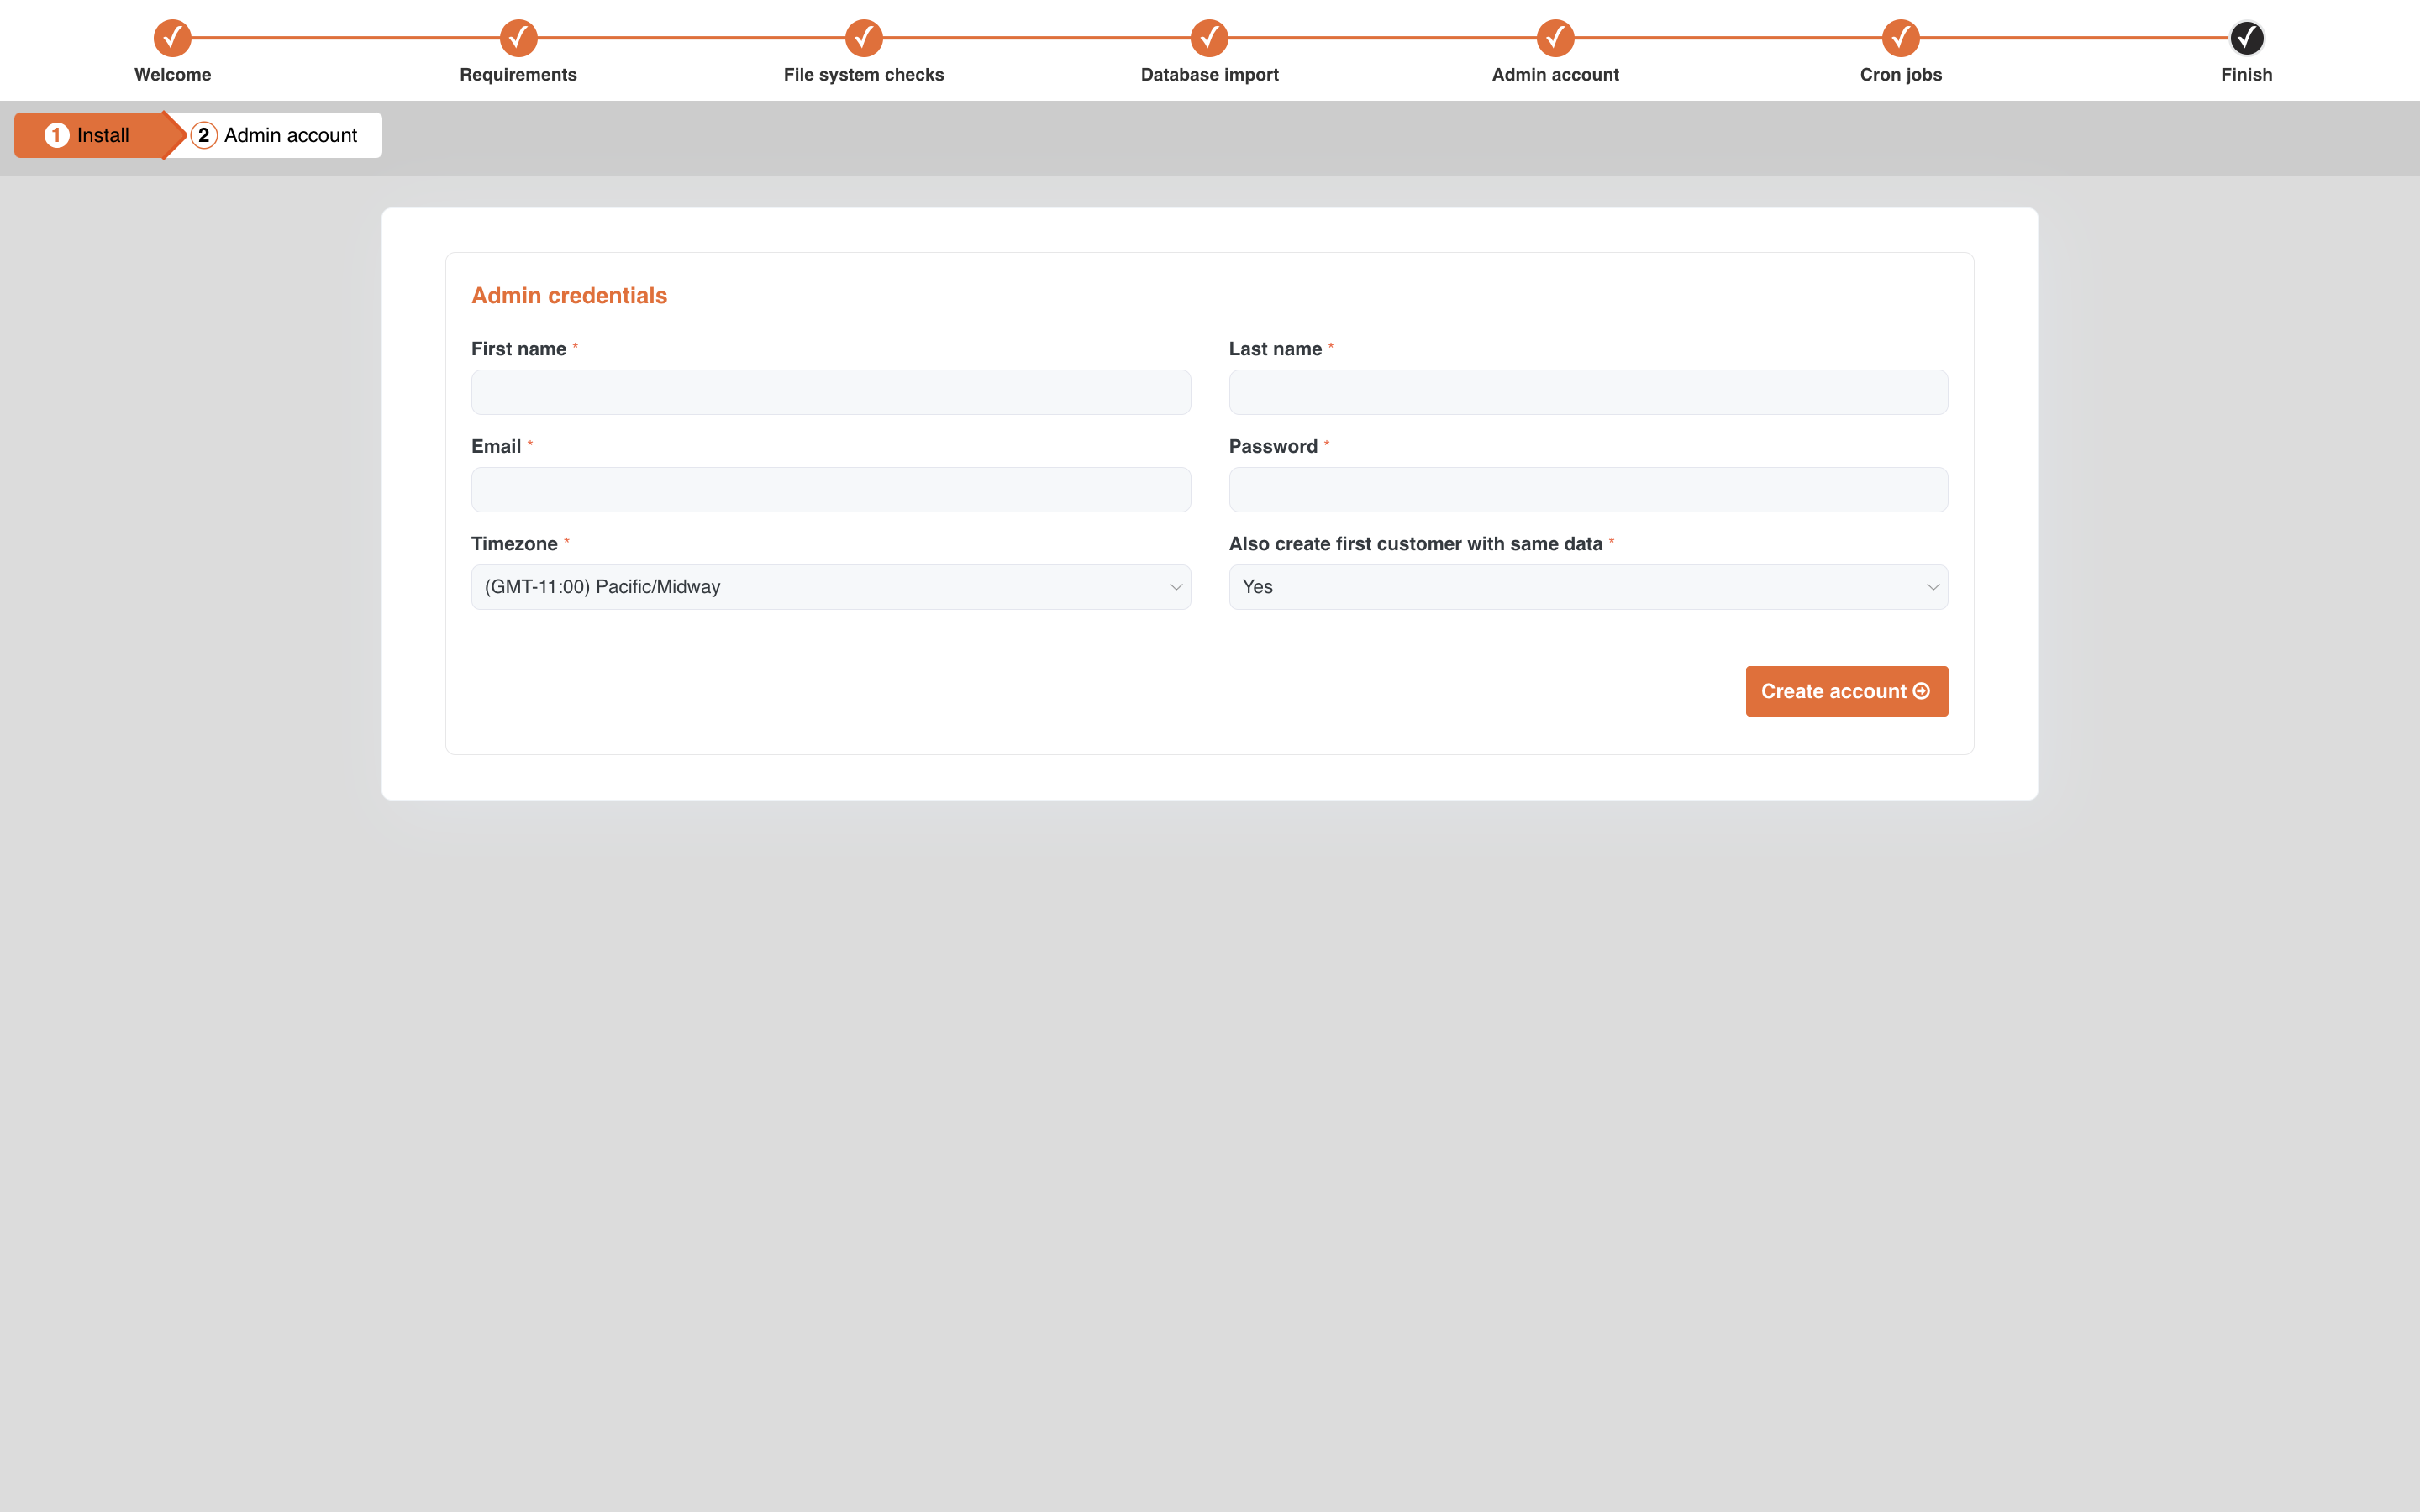
05. Admin Login Details
This email and password will be used as admin credentials to log in.
Fill up necessary information and click create account.
-
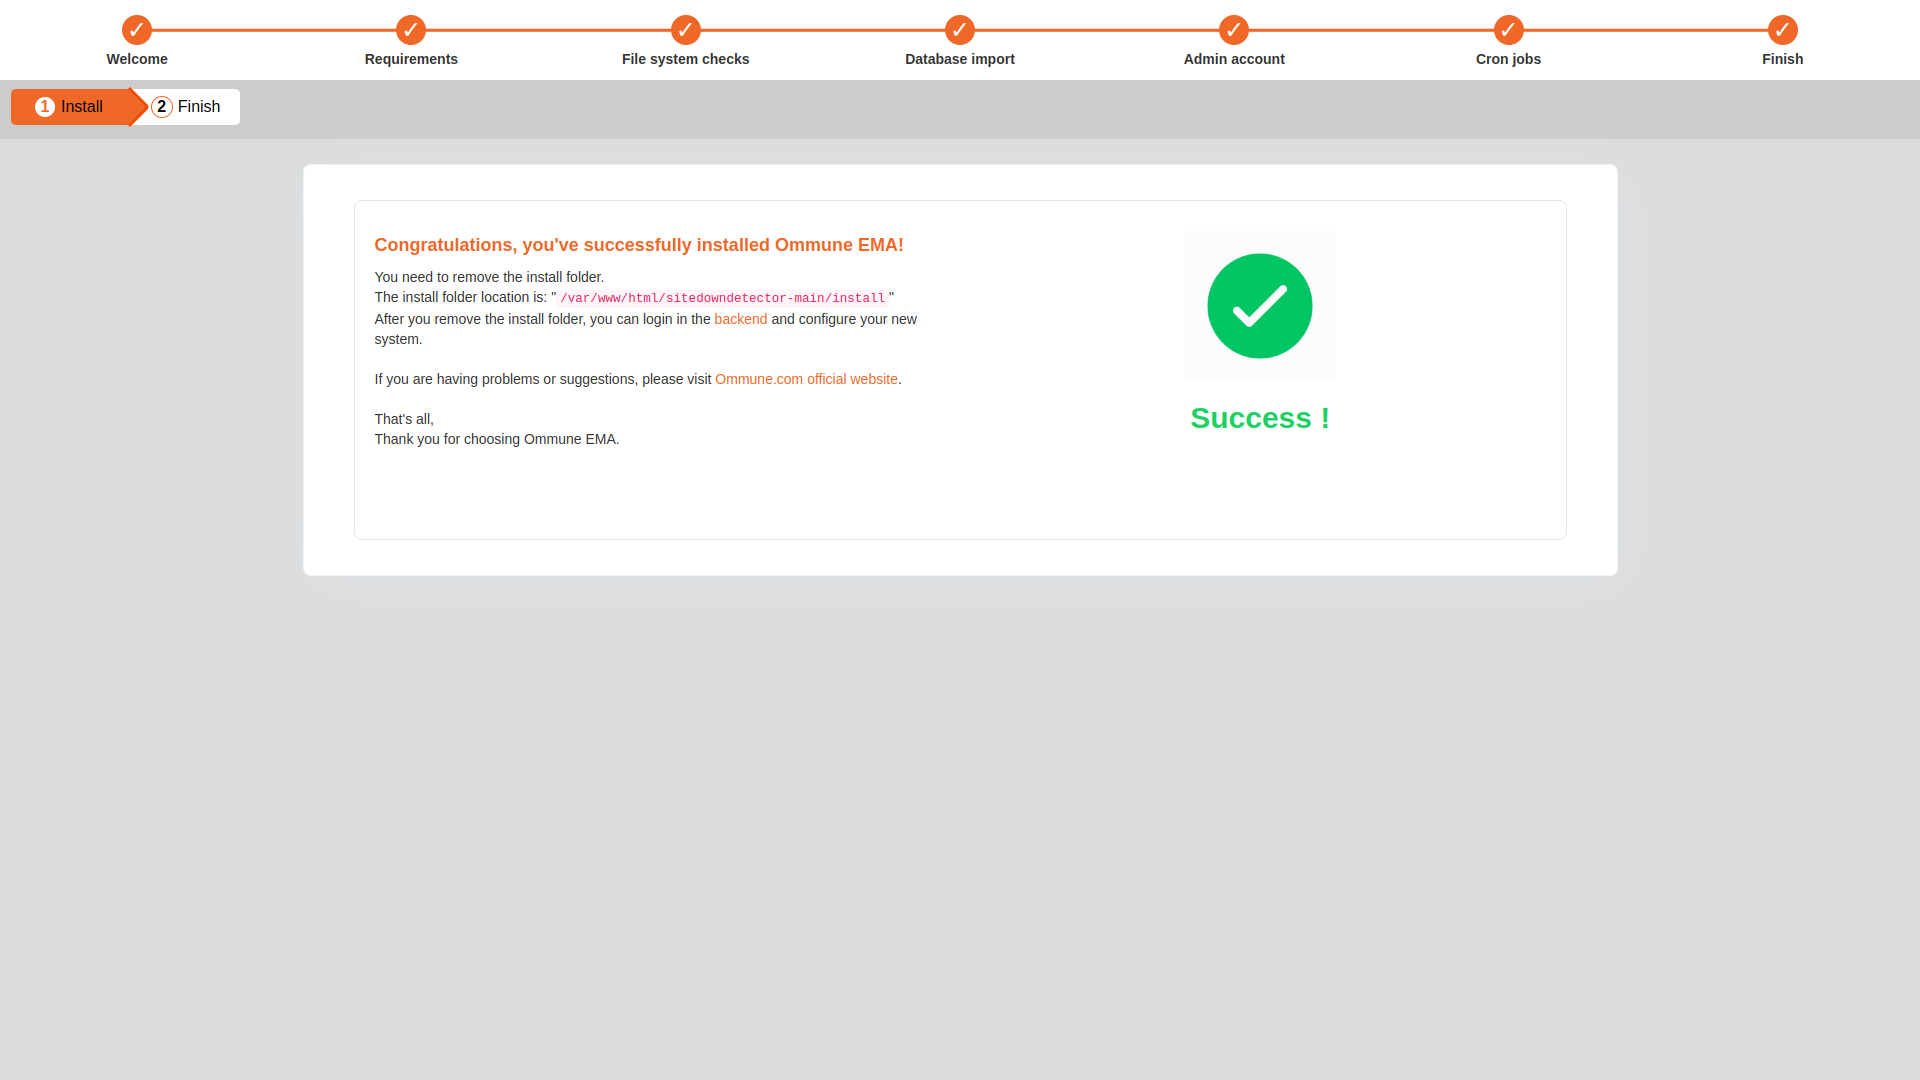
06. Installed
-
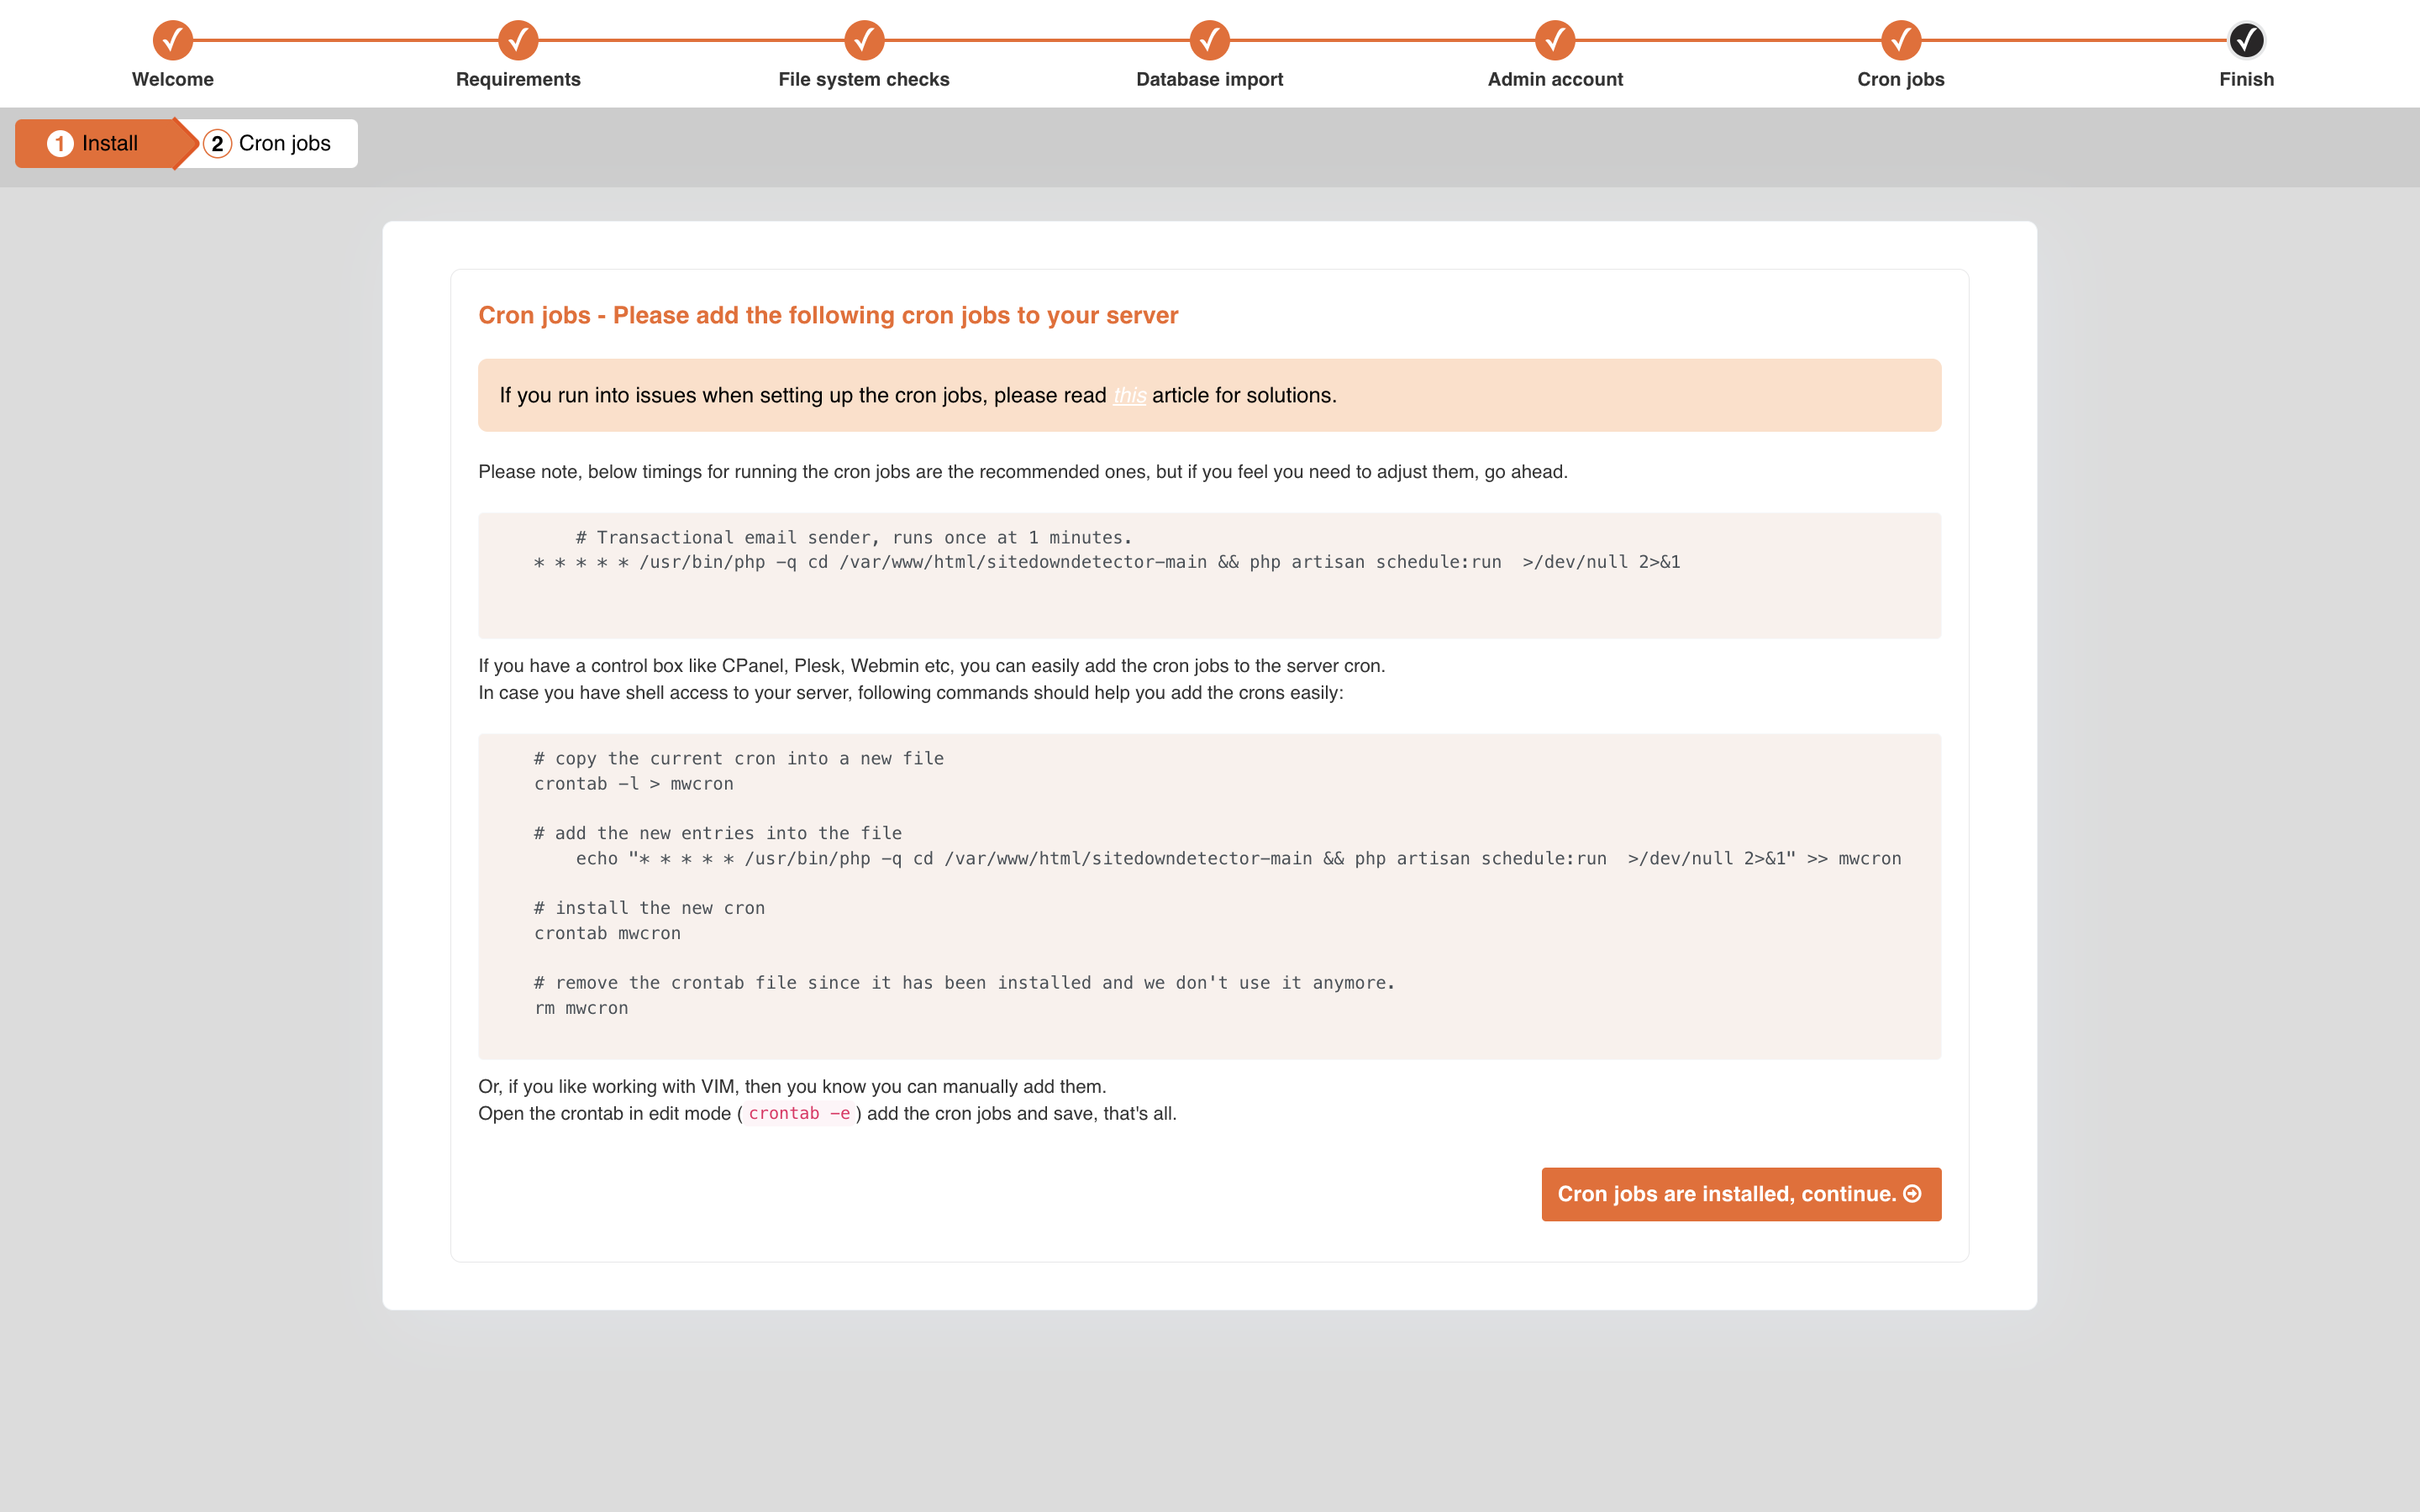
07. Add Cron Job
open -> crontab -e
and paste
* * * * * cd /var/www/html/your-website-path && php artisan schedule:run >> /dev/null 2>&1
Please don't forget to replace your-website-path as per your server settings. '/var/www/html/your-website-path' is the directory path of the root of the folder where your script is present on your server.
-
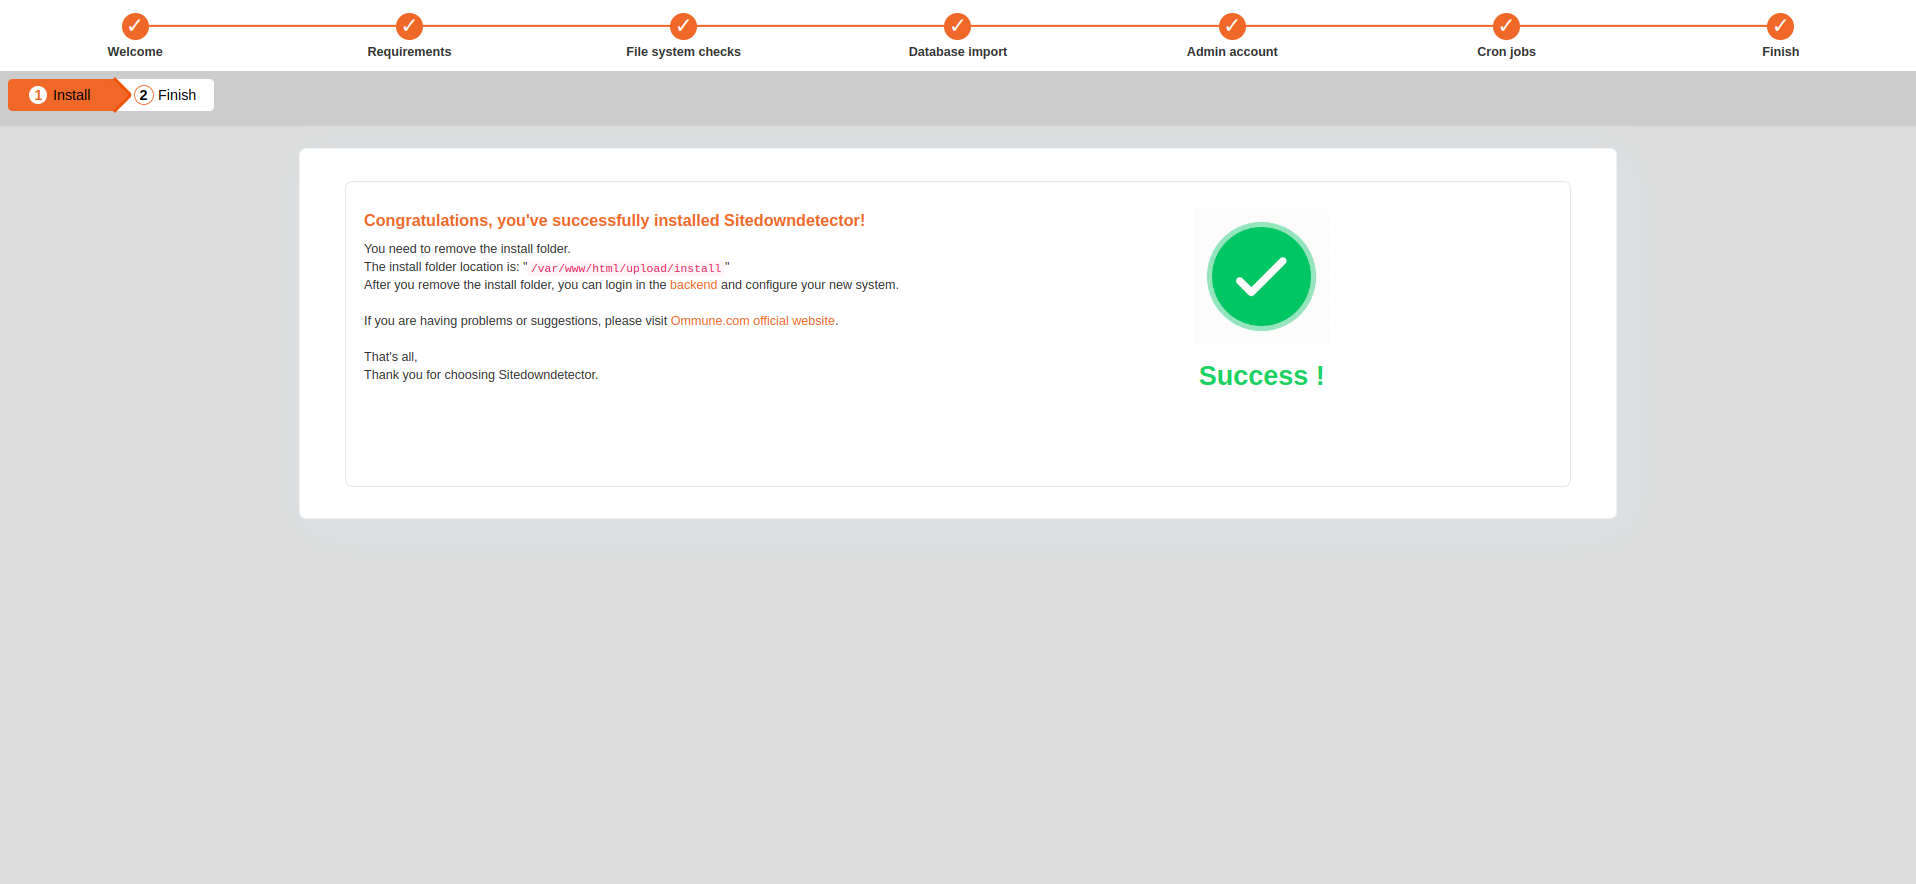
08. Delete "Install" Folder
After successful installation, delete "install folder".
-
08. Login Page
Login using admin email and password.

After Installation
-
Configure your email delivery service from Settings > App Settings > Email Setup
-
Make sure that your email delivery service credentials is correct. Otherwise, you will get this type of message alert "Configure email setup properly" / "Server error"
